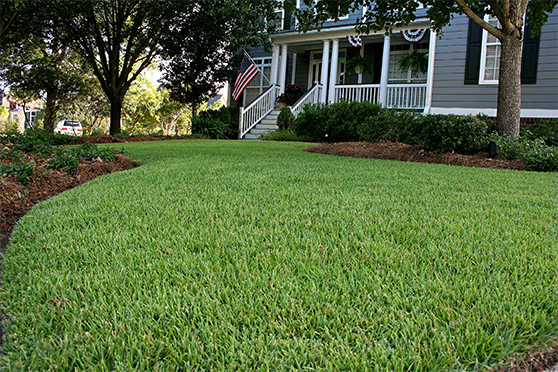
You have selected the right sod type for your home and are ready to get started on the installation process. Ensure a successful and hassle-free installation by following these steps:
Materials Needed:
- Sod
- Rake
- Work Gloves
- Rototiller
- Lawn roller
Steps:
Before Ground Preparation
- Determine how much sod you will need before you order. Allow 10% extra turf grass or trimming and fitting around irregular areas. Make sure to also carefully plan where you want the pallets of turfgrass to be placed on the job. This will help you save time by not having to carry sod all around your yard.
- Ensure that everything underground is ready to go. This includes any system that deals with drainage and irrigation as well as electrical lines and other underground elements.
Ground Preparation
- Loosen the top 6 inches of soil with a rototiller or similar equipment.
- Add fertilizer.
- Add soil amendments if needed.
- Rake the area to remove rocks and debris.
- Ensure a leveled base for proper surface drainage. Make sure you have at least 6 inches of good soil uniformly over the area. The final grade should be even to 1 inch below adjoining sidewalks and driveways (if the dirt is loose, settling will occur).
- Roll the entire area with a half-filled lawn roller.
Installation
- A couple of days before the installation, water the area to a depth of about 6 inches to firm up the soil and reveal any high or low spots that need final grading.
- Install your sod and water within 24 hours.